10 Tips For Professional Painting
Learn how to paint like a pro!
Professional Painting Tips From The Experts at Zip-Up Products will make your next paint job a success. Learn how to paint like a pro!

Painting the walls of your home is one of the easiest and least expensive ways to personalize your home and add a touch of life to every corner. However, going into this project blindly can result in messy mistakes and frustrating results. It is for this reason that some people choose to turn to professional painters. However, if you’re looking to save some money and hone your handyman skills, here are a few professional tips for a flawless paint job.
1. Wait for dry weather.
Humidity means drips and slow drying, so avoid painting on a rainy day. If you must paint when it’s humid, take your time — and take advantage of slow-drying paint to correct your errors before moving on to the next coat. But don’t overwork, or it will show when you’re finished.
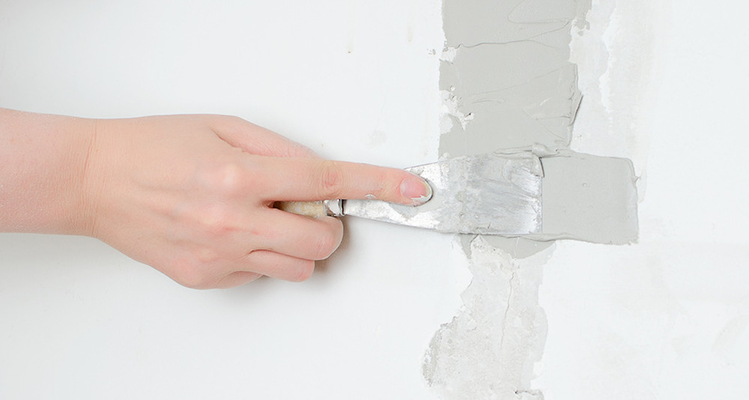
2. Patch up, clean and prime your walls before beginning.
Whether you realize it or not, over time your walls become marred with nicks, scuffs and craters Any cracked, flaking, or peeling areas need to be lightly sanded or scraped (and then thoroughly rinsed) before applying new primer and paint, because the weight of the new coat will pull the old paint loose. Greasy spots may also need a bit of washing with soap, followed by a rinse with clean water. Otherwise, give the walls a quick wipe-down with a damp cloth so that paint will have a clean, dust-free surface to stick to.

3. Buy High Quality Brushes and Roller Covers.
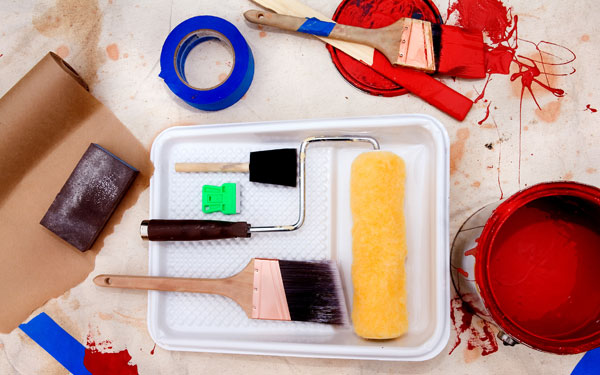
If you’re splurging on great paint, you definitely don’t want to pinch pennies on the application. Good brushes and roller covers give excellent coverage so that you don’t waste time and paint on re-application, and high-end painter’s tape is the real deal when it comes to sealing out drips and blurs.
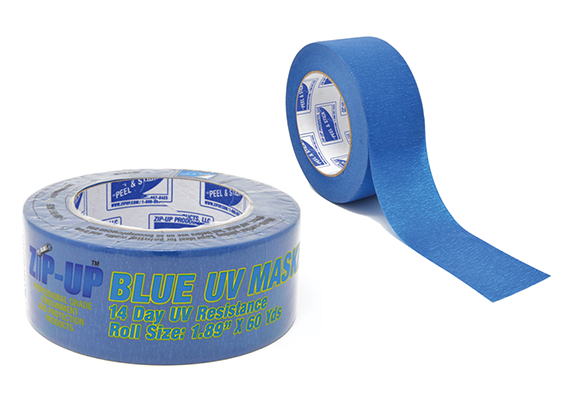
4. Be sure to purchase plenty of painter’s masking tape.
By placing this tape over the molding and along the edges, you can easily avoid messy lines – but you need to make sure you buy the real deal. Zip-Up brand Painter’s Blue Masking Tapes are high quality, durable and seals tight for a razor-sharp line and easy to remove when job done. However, you won’t save any time or money by using masking or scotch tape as the variations may pull the paint off the wall and leave unsightly spots.
5. Mix all cans of paint to ensure consistency.
Unfortunately, the color of your paint can vary slightly between cans – even if they look identical. Often, it’s hard to notice this slight difference until you’ve begun painting. To avoid this, pour the paint from each can into a large plastic tub or bucket and mix with a paint stirrer. The resulting color will be flawless and professional.
The next day,simply remove the gear from cold storage 30 minutes prior to painting, and it’ll be supple and ready for use. Properly wrapped paintbrushes and roller sleeves can be stored this manner for several days if you’re tackling a really ambitious job.
6. Paint the trim first, then the ceiling and walls.
Pros usually follow a certain order when painting a room. They paint the trim first, then the ceiling, then the walls. That’s because it’s easier (and faster) to tape off the trim than to tape off the walls. And you certainly don’t want to tape them both off! When painting the trim, you don’t have to be neat. Just concentrate on getting a smooth finish on the wood. Don’t worry if the trim paint gets onto the walls. You’ll cover it later when painting the walls. Once the trim is completely painted and dry (at least 24 hours), tape it off (using an “easy release” painter’s tape), then paint the ceiling, then the walls.
7. Sand trim between coats for an ultra-smooth finish.
One coat of paint usually won’t hide the underlying color and sheen on trim. And if you don’t sand the surface smooth between coats, the finish may have a grainy texture. For a smooth finish, sand the trim before applying each coat of paint. Sand the trim with a fine-grit sanding sponge. Sponges get into crevices where sandpaper can’t go and let you apply even pressure. Then apply the first coat of paint, let it dry at least 24 hours, lightly sand it again for a completely smooth surface, and apply the second coat. After each sanding, vacuum the trim, then wipe it down with a tack cloth to remove the dust.
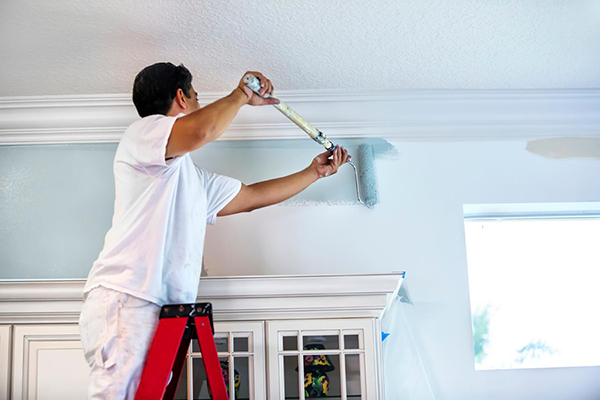
8. Roll paint along the edges for consistent texture.
Corners and areas next to trim that are painted only with a brush have a notice- ably different texture than the surrounding paint. To ensure the finished texture will be consistent in these areas, brush on the paint, then immediately roll it out before the paint dries. Use a 3-in. roller with a nap that’s the same thickness as the roller used for the rest of the wall. Roll as close as you can without bumping the opposite wall or slopping paint onto the trim. Finish brushing on the paint and rolling it out in one area before moving on to the next section.
9. Feather out paint where you can’t keep a wet edge.
You can’t cover large areas like ceilings, extra-tall walls or stairwells in single, continuous strokes, so the best way to minimize lap marks on these areas is to feather out the paint along the edges that you can’t keep wet. The thinner, feathered coat of paint will avoid the buildup that causes the lap mark. To paint a large section without leaving lap marks, roll the nearly dry roller in different directions along the dry edge, feathering out the paint as you go. After completing the entire length of the wall or ceiling, move to the next section and paint over the feathered edges. For the second coat, apply the paint in the opposite direction. This crisscrossing paint application sharply reduces (if not eliminates) lap marks.
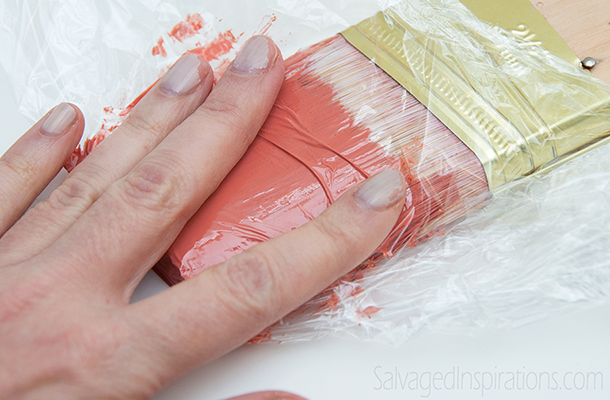
10. Storing overnight.
When you’re done painting for the day but still have more to do tomorrow, you don’t have to go through the laborious process of cleaning your paintbrushes and paint-roller sleeves. Instead, simply brush or roll off the excess paint, then tightly wrap them in plastic food wrap. If necessary, double up the plastic to seal out any air, then place the wrapped brushes and roller sleeves in the refrigerator to keep them fresh. This might sound crazy, but it works—it’ll keep the paint from drying overnight and rendering your equipment unusable.

The next day,
simply remove the gear from cold storage 30 minutes prior to painting, and it’ll be supple and ready for use. Properly wrapped paintbrushes and roller sleeves can be stored this manner for several days if you’re tackling a really ambitious job.


